Showing posts with label art. Show all posts

Tuesday, November 1, 2011

Emerald City Art Piece


I have another fabulous blog to share with you today... 
restlessrisa
Risa has a fabulous crafty, mom blog full of simple and beautiful ideas.  She's been sharing her fabulous ideas at For the Kids Friday Link Party, and today she is here to share as my guest!  I am thrilled to have her, and I hope that you take a moment to stop by and see what amazing things she's doing over at her blog.


Some of my personal favorites over at
restlessrisa...


1) Halloween Advent Calendar      2) Back to School Party (Books/Reading)
3) Back to School Party (Fried Worms)                         4) Travel Kit Tutorial


~*~*~*~*~*~*~*~*~*~*~*~*~*~*~*~*~*~*~*~*~*~*~*~*~


Hello, and THANK YOU RACHEL for having me today. I am honored and thrilled to be here guest posting on my favorite family fun blog!
A little about me... I am a wife to one great husband, and mom to 3 sweet kids. I love being a stay-at-home-mom, and hope I can bring a little magic and wonder into my kids lives. I love holidays, family vacations, birthdays and just every day. I do what I can to make things special and memorable for my family.

This is the family before we welcomed our newest addition 9 months ago.

We need to take a new family picture - I know, but this will have to do for now.


This week, I had a Halloween late night/party for both older kids. In four days, I will be hosting a girlfriend (mom only) Halloween party for some of my closest friends. The theme is Wizard of Oz. I have asked each guest to bring a food item. I will have four tables set, one for each food category.

The categories are:

1) Dorothy, Scarecrow, Tin Man, and Lion,
2) Munchkin Land,
3) The Emerald City,
4) Good and Bad Witches.

I have decorations for each table, but was having a hard time coming up with what to do for The Emerald City table.

We were all just sitting around this morning, and I decided to enlist the kids help for making an Emerald City art piece. They were THRILLED! They have been very excited for my party, and like to see what I have planned.


SUPPLIES:

1 piece foam board ($.99 at the dollar store)
Elmer's glue Scissors Paint and brush Paper

{I used 3 different colors each
for the yellow brick road (3 sheets),
the poppies (5 sheets),
and The Emerald City (3 sheets)}


First, turn on Wizard of Oz music in the background, and sing along.

My favorite song lyrics from The Wizard of Oz:
It really was no miracle,

What happened was just this.
"The wind began to switch.
The house to pitch.
And suddenly the hinges started to unhitch.
Just then, the witch
To satisfy an itch
Went flying on her broom stick

Thumbing for a hitch."


Tear the edges off all the papers, and tear them into strips.
Pester your sister, and try to take the paper away before she is finished tearing it.

Then tear the papers into smaller pieces.
Cut out the shapes you want to for The Emerald City. I stapled them together on the bottom (where it would be covered by paper) before gluing them to the foam board, so it would be easier to attach.

Paint the foam board.

Draw the yellow brick road, and get started!

I put the glue down, and let the kids stick the papers on. They LOVED it!


This project was super easy, and inexpensive. It took less than an hour, and the kids were so proud of themselves that they got to make a decoration for my party!
My daughter told me she wants to have a Wizard of Oz party for her next birthday. I might just keep everything from this party, make life easy on myself, and use it for her party! In the next few weeks, I will be sharing the rest of my Wizard of Oz party on my blog. Please stop by any time. I love visitors! www.restlessrisa.blogspot.com

Have a Happy and Creative Day!

Risa

Wednesday, June 8, 2011

Lemonade Stand Learning

It is a hot, summer day, and your children ask if they can set up a lemonade stand in front of the house.
You say "Sure!" thinking it may keep them busy outside while you get some things done around the house.

But...
Did you ever stop to think of what an AMAZING learning opportunity this is for your children?
No?
Don't feel bad.  I'm sure most people haven't.
Therefor, let me share some of the many ways your children can learn through this fun, summer activity.
I've brainstormed a list of ways you can make your child's lemonade stand more than just "something to do" on a hot, sunny day!  If you have any other ideas to add, please share them!!


Check out the amazing lemonade stand my husband and father-in-law built for my kiddos!
They built it.  I painted it.  The kids create signs depending on what they are selling that day.

They even have a great counter space and storage for coolers below to keep their juice out of the heat.


How Lemonade Stands Can Promote Learning

Language
- Children can practice reading and writing skills by creating their own signs and posters.
- Your child can practice reading and writing by creating a shopping list of the items they will need.
- Children can read labels and follow the directions when making lemonade and other items they might sell at their stand.
- Encourage your child to write down ideas for items they could sell or the supplies they will need to gather.
- Have your child create a plan for their business.
- Critique at the end of the day:  What went well?  What did not?  What would they do differently next time?  Would they do it again?  Did they make a profit?  Was it fun?

Mathematics
- Help your child determine prices, and what the costs for each item is.  What is their profit at their chosen price?
- Calculating sale totals and counting money at the end of the day.
- Your child will need to know their coins, their value, how to count money, total a sale, and how to make change.
- Have your child keep track of their time, their sales, inventory, and customers each day.
- Children use math when following recipes!  How many cups of sugar, lemon juice, or water to make a pitcher of lemonade?
- Can your child calculate how many cups of lemonade they must sell to earn a profit for that day?
- How many cups of lemonade will your child be able to sell from each pitcher of lemonade?
- Let your child find ways of decreasing their costs.  What package of cups is the most cost-effective decision?
- Is it less expensive to make lemonade from scratch, to buy pre-made, or concentrate?  What are the price differences?

Social/Life Skills
- Shopping!  Let your child play an active part in making the purchase decisions.
- Interacting with customers is a great way for your child to practice their social skills.
- Preparing Orders/Drinks - following directions!
- Using manners and learning how to provide friendly, quality service.
- Counting Money
- Encourages Teamwork (if working with other children)

Art & Creativity
- Do you have a name?  Have your child come up with a catchy name for their lemonade stand.
- Creating signage.  Let your child create special artwork or posters to promote their stand.
- What makes your lemonade stand different?  What can your child do to make sure their stand is noticed?
- Ask your child what might attract people to their stand?  Do they sell something unique and interesting?
- Perhaps your child has designed or created their own stand, or played a part in doing so.

Business Sense
- Children can determine how to market their stand or their products.
- Determining the best prices and products to sell.   Do you just sell lemonade?  What is "your strategy"?
- What times are the best to sell?  Where is the best location?
- What will people want to buy?
- Have your child consider, "Why would people want to buy my __________?"
- Have your child critique their business when all is said and done.  (refer back to language)

Social Studies
- When would people be most likely to buy your products?  Are there times of the day or days of the week where you are likely to get more patrons?
- What kinds of things would people be most interested in buying where you live?  Are there lots of kids, or more adults?  Do people prefer sweeter drinks, or would cold water be more popular?
- Is your home a place where you would get enough traffic to make it worth while?  If not, is there another place you might be more successful?  Would a mobile stand be possible?

Science
- How hot is it outside?  What will you need to keep your products cool for your customers?
- Does the temperature outside effect your business?  Are there more or less people out in the heat?  Do your sales increase with the temperature?

Health
- What do you need to do to keep your stand a healthy environment?  Do you use gloves? Wash hands? etc.
- Do you have food items that will be unsafe to eat if they are not kept cold? or not cooked well enough?
- What about your child's health?  Do they have something to provide shade on a hot, sunny day?  Are they covered with sunscreen and adequately hydrated if they are out selling on a hot day?
- Do you want to offer healthy food and drink options at your stand?  What might those items be?  What makes them healthy choices?


Here's to Summer Fun and Learning!!

Sunday, May 15, 2011

Summer Scholar Sunday #2


Each week, I will feature an activity found in the Sun Scholars Summer Program and share some highlights from our Summer Scholar Families.  We'd love to have you follow along.  If you like what you see, and would like to learn more about my Sun Scholar Summer Program, click HERE.


Bird Feeders
Subjects:    Art & Science
Time:         10+ mins
Supplies:        Pine Cone or Wooden Bird House, Peanut Butter, String, Bird Seed

No matter what time of year, you can attract birds to your home with a simple bird feeder.  Have your child create their own bird feeder and see what kinds of birds stop by for a snack.  On your next outing to a park, make sure to grab a couple pine cones, or how about a wooden bird house!  We found our bird house at Hobby Lobby on sale for $3.50.

How to Make a Bird Feeder
·         Tie a string around your pine cone, giving yourself enough to allow you to hang it when it is complete.
·         Fill a shallow bowl with bird seed.
·         Using a butter knife, cover the pine cone in peanut butter (suet, vegetable shortening, or lard will also work).
·         Roll the peanut-covered pine cone in bird seed until well covered.
·         Your bird feeder is done!  Be sure to hang it where you can see it.


For the bird house, we used a tray, and the children pat the bird seed onto the sides of the house.  We also added a fancy red flower we had left over from the holidays.

Note: If you can, make a few bird feeders each with a different type of seed. What kind of birds will you attract to each bird feeder?  You can extend this activity by keeping track of your bird visitors using THIS birdwatching worksheet!


from week 3 of the Sun Scholar Summer Program


Let's hear from our Summer Scholar Families...


Amy


This week we did Mail Mania.  The projects we did were:
Story Time
Doorknob Mailboxes
What's In Your Mailbox
Mail On the Map
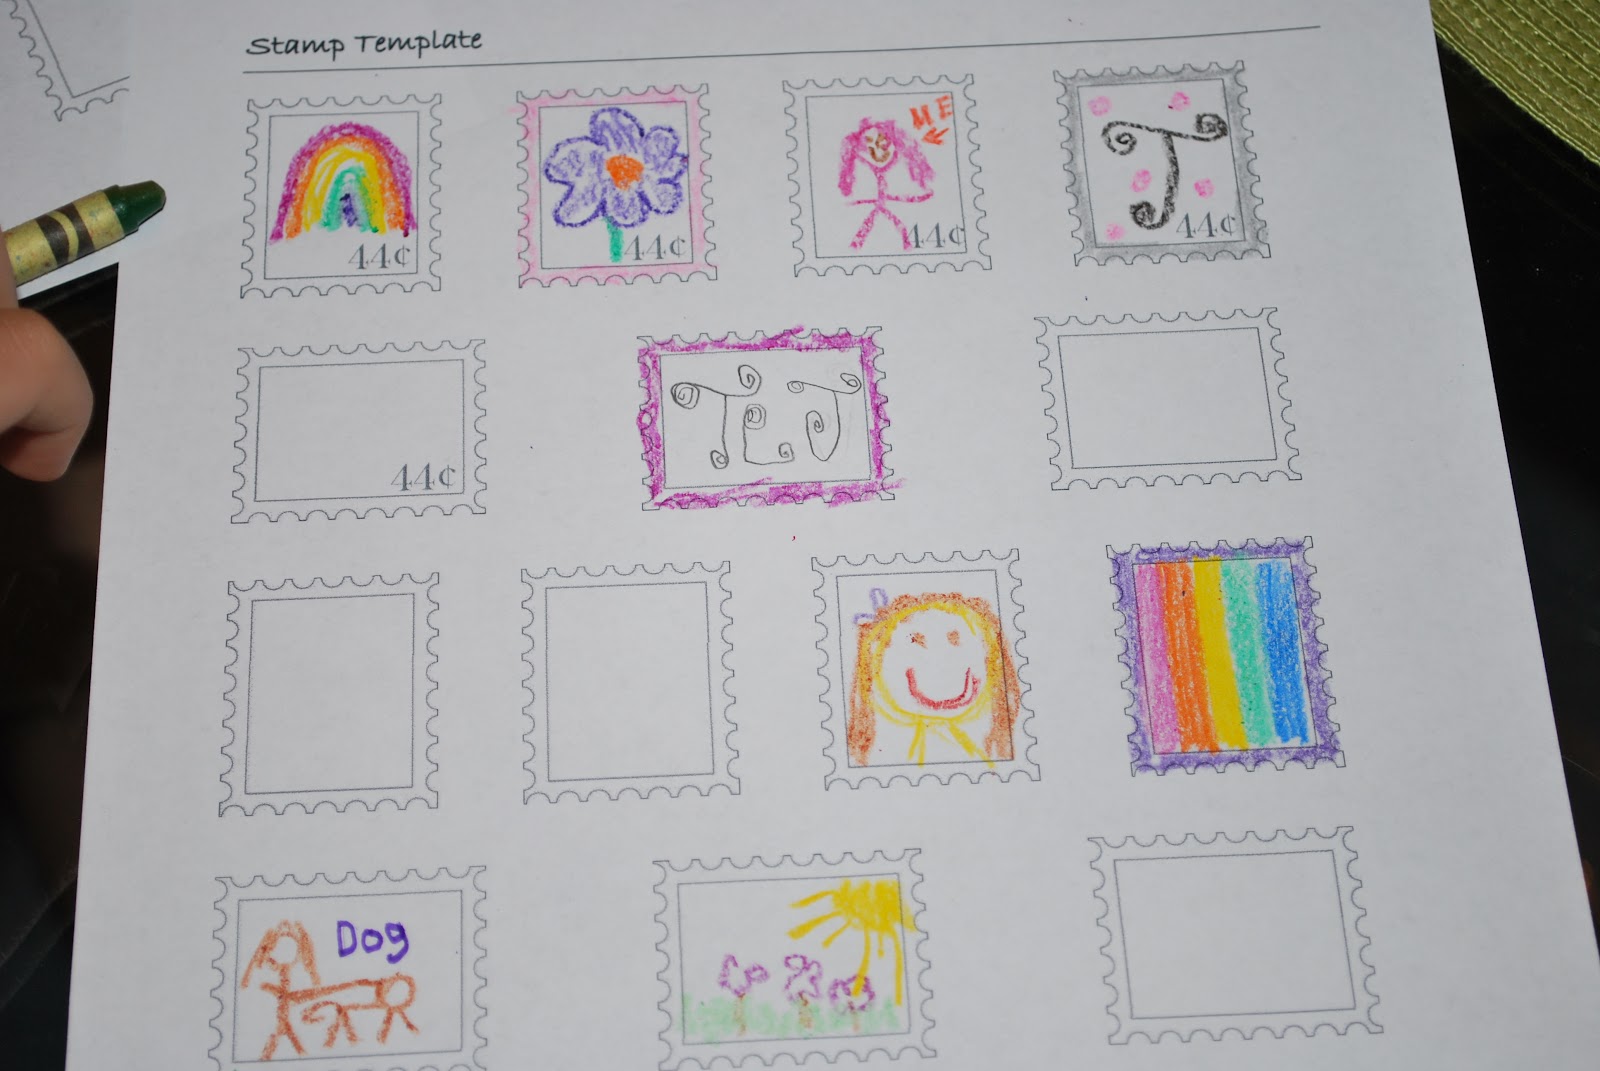
Stamp Art
Math In a Bag
Card Creations
Letter Writing

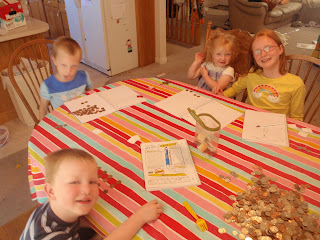
My kids loved checking the mail everyday and graphing it. The doorknob mailboxes were tons of fun. They enjoyed sneaking notes in and finding them in their boxes. They even used them to send invites for a movie party Friday night. The stamps were fun and creative. Math in a Bag was probably the favorite. It was easily adaptable to all ages. The older ones did fractions and addition/subtraction, the younger ones did sorting and color identification. We had a great time this week.

Melissa
This week we used The Great Outdoors as our theme!  Since we went Camping for Mother’s Day it fit right in!

Story Time: We read Let’s Go Camping with Mr.Sillypants! Discussed any words that were “hard” for Zachary. The book is great and we recommend it for sure!

Painted Rock project. Making our Ladybugs this week as we are into our Insect Unit for homeschool!  The kids had a lot of fun with this project and the pictures turned out great on my Mother’s Day Sunflowers!  I think we will make some for Daddy also for Father's Day fast approaching!

The Nature Hike was AWESOME!  We incorporated this project into camping and also recruited the two children (not homeschooled technically) to do it with us!  The kids had a blast finding the things on the list. Even the dads got in on it!  We found so many things not on the list also!  I would suggest adding more to the printables list for sure!

Our last project from The Great Outdoors was the Map Making!  Zacchary loves to read maps and make them. The kids used their portable chalkboards to draw maps of the campsite!  Loved it!  We discussed how we use maps in the woods and with nature also the use of a compass!


Kids loved this unit and we will continuing with some of the additional projects over the Summer!  Overall great unit! 


Heather
This week was fantastic. We focused on all things Mail and all three of the kids had a great time. One of their favorite activities was getting to make their own stamps. Before we started Sun Scholars, we had been trying to teach our children how important it was to write thank you notes. Using their "personalized stamps", we continued to encourage them to write thank you's to grandparents, friends, and anyone else they felt they would like to write to.  

The activity got them extra excited about writing these letters. They each set up a little writing spot in their rooms where they have notecards, envelopes, and their stamps. I have an adhesive machine, so once their stamps were done, I ran it through the machine and made them into stickers, just like real stamps, so they could just peel them off the paper and stick. 

Once they write their letters, they put their own stamps on the envelope and then bring them down to me for a real stamp. All three of the children were especially excited to see their artwork on the front of their thank-you letters. 

I also made a few phone calls and found out that our local post office will allow kids and their parents to come down and see how a real mail room works. Similar to field trips that kids take to the firehouse. Once they are out of school, we are scheduled to go down and take the tour. The kids can't wait.

This activity was fantastic. Another testament to the power of the program. What a great creative learning tool these activities are. And, even though the kids have a week and half of school left, there really isn't a lot going on in their school classes as the year winds down. These activities keep them learning, and from asking to watch t.v. or felling bored. They really do wake up asking what activities we will be doing that day.


Emily
I really enjoyed this last week.  It was so fun and the kids liked it too.


We love "The Jolly Postman". We reread this book over and over again and it prepared us for the rest of the activities.  It also helped me explain the different type of mail.

Doorknob Mailboxes.  The kids enjoyed making their own mailboxes, but not as much as they loved getting mail.  This was the first time that my son wrote words without copying what I wrote.  It was a blast.

What's in your Mailbox and Mail on the Map.  Getting the mail was a huge hit at our house.  The kids loved sorting the mail and then looking for up the city and states to mark them on the map.  My kids love geography and this was fun to see how far our mail had come.
hitting

Musical Glasses.  The kids not only had fun pouring the water in the jars and "making music."  I also added some food coloring to the water, letting the kids decide what happens to the colors as you mix them.


Letter Measurement.  We first gather all different objects from around the house, and then measured them.  It was an eye opener for me to see how the kids measured things and what they choose to measure.

Back to Calendar Math.  This was a great with the kids.  I love how I could use this with all their different skill levels of my children.  For my youngest we just worked on recognizing the numbers.  My second youngest worked on his counting skills.  My older boy practiced adding numbers and then used the counters to make sure he had it right.  My oldest worked on her adding skills picking four to five numbers and then used different coins to add up to the sum.  This helped her with her money skills.


Sun Scholars


Thanks to the Summer Scholar Families for sharing with us.
We'll see you back next Sunday for more Summer Scholar fun!


Friday, May 13, 2011

Daisy Chain Count Down

 Only 13 days of school left for my kiddos.
To mark these last days, we made these daisy chain count downs.
WAY more fun than a paper chain count down if you ask me... and who doesn't have a pile of plastic eggs laying around from Easter?!


Supplies Needed:
-  Flowers (I printed them on card stock), you can find mine HERE
-  Plastic Eggs, one half for each day
-  Small Candy, Toys, or Notes, one for each day
-  Green Ribbon or Yarn (I used about 5' for 14 flowers)
-  Glue (I'm going to recommend hot glue here)
-  Sharpie Marker

Here's the stuff I started out with...


Directions:
1)  Cut out one flower for each day.
2)  Tie a loop at one end of your yarn so that you can hang it, and then lay it out in front of you.

3)  Make sure your goodies fit into your egg shell halves.

4)  See what I'm doing here?   Yeah.... DON'T DO THIS!!!!
I mean, DO do it, but not in this way.
NOTE that I have placed the flower under the yarn.  This you DO want to do!

And then I'm placing my candy filled egg shell onto the Elmer's Glue.
Why, you may ask, was this a bad idea?  Well, the Elmer's Glue was taking FOREVER to dry!
I'm all about instant gratification when it comes to things like this.

Here is the idea on how you're building your chain.

However... I had to resort to...
My glue gun!  Ok, so not as kid-friendly.  But it worked so much better.

So I filled each egg half, lined the edge of the egg shell with hot glue, and placed the egg shell in the center of each flower, with the yarn running in between.

And then I had this...

5)  I used the Sharpie to add numbers (one at the top) in the center of each "flower"

And here is the finished Daisy Chain Count Down!
He really is excited about this... the sun was just in his eyes.  Promise! ;)

After the fact, I thought it would be even cuter with some leaves here and there.
So here is the chain with the leaves...


Cute, don't you think?
Each day after school, the kids can cut a daisy from their chain and enjoy a special little treat.

I also thought that these little paper cups would have been great in place of the eggs.
Perhaps they would have worked better with the Elmer's Glue, and been a better project for the kids.  I did the project above with my Girl Scouts, but did all the hot gluing for them.

Another nice thing about these little paper cups, is that you could cut paper circles and add the numbers to glue onto each.

Happy Last Days of School!