Monday, March 7, 2011

Ice Cream Leprechauns

Let me just say...
I am SOOOO excited to share this one with you!


I know you want to make them!  So here is the tutorial!


Supplies Needed:
-  Vanilla Ice Cream (note, I used frozen yogurt.. I think regular ice cream would have been a better choice)
-  1 Pkg Green Candy Melts
-  Ice Cream Cones (I used the colored cones)
-  Black Decorating Frosting
-  Vanilla Frosting
-  Food Coloring, red and yellow
-  Gum, in the little rectangles, not sticks
-  Cocktail Cherries
-  Rainbow Decorating Sprinkles OR Mini Chocolate Chips (for eyes)
-  Cake Decorating Shamrocks (optional)
-  Toothpicks, broken in half

Directions:
Ok... so you have a choice.  You can go the easy, less messy, less work, less expensive route and simply use the green ice cream cones that you can buy at the store.  If you choose to do it this way, skip down to Step 4.

OR... you can use any color ice cream cone, melt your green candy melts, and make your little leprechaun hat green that way.  The choice is yours.  Here is the more messy, more work, more expensive, but super fun way!  Follow from Step 1 below, if you're up for it!

Step 1
Prepare your cones.  I found that it worked well to line a baking sheet with wax paper.  I placed my cones on top of a cooling rack set inside of the lined baking sheet.

Step 2
Melt your chocolate melts according to the package instructions.  I used an entire package of melts to cover 8 cones.  Be careful not to over cook your chocolate!

Step 3
Using a spoon, pour the melted chocolate over each cone, allowing it to drip down and cover the sides.

After pouring chocolate on the top of each, I found it helpful to pour chocolate around the perimeter, then fill in spots where needed.

Maker sure your cones are completely covered with chocolate, and allow them to set until the chocolate has hardened.

Step 4
Time to add a black band on your Leprechaun hats.  I would have used this tip if it had fit onto the frosting bottle.  This was not the case.  Ugh!  So, I had to resort to a Ziploc bag.

I squeezed a bunch of the frosting into a Ziploc bag, and snipped the end.

Add a band of black frosting around each of your hats.  Here, you see the green colored cone (not covered in chocolate).

Add a little black frosting to the middle of a piece of gum, and stick it onto your hat.  VoilĂ !  You have a Leprechaun hat!

And here you see some finished hats that were covered in the chocolate.

Step 5
Some important notes to the rest of the instructions.
For the best results, work fast and work COLD!  The colder you can keep your ice cream, the better.  If you have a deep freeze, even better!  It will keep your ice cream colder than a regular refrigerator.  Of course... I did not have that as an option.  Also, if you can manage to keep each Leprechaun on an individual dish, this would make it so much easier as well.  That way you don't need to handle them more than necessary, and can take one out at a time.  

Keep a cup of warm water ready.  This will allow you to mold your ice cream balls and keep the ice cream from sticking to your spoons.  

Using two spoons (one of mine was an ice cream scoop), make an ice cream cone sized ball of ice cream, trying to smooth it as best you can.

Add your ice cream ball to your Leprechaun hat, using the nicest side for the face.

Place it on a tray and immediately place it in the freezer.

Here are my Leprechauns, freezing up as I work on the  next...

I would recommend allowing your Leprechauns to freeze for an hour at this point.  The more solid your ice cream is for the next step, the easier they will be to complete, and the better results you will get.

Step 6
I used store-bought frosting.  You could just as easily make your own decorating frosting.  I ended up adding some powdered sugar to this after the fact, finding that it worked a little better.  You may want to do the same.

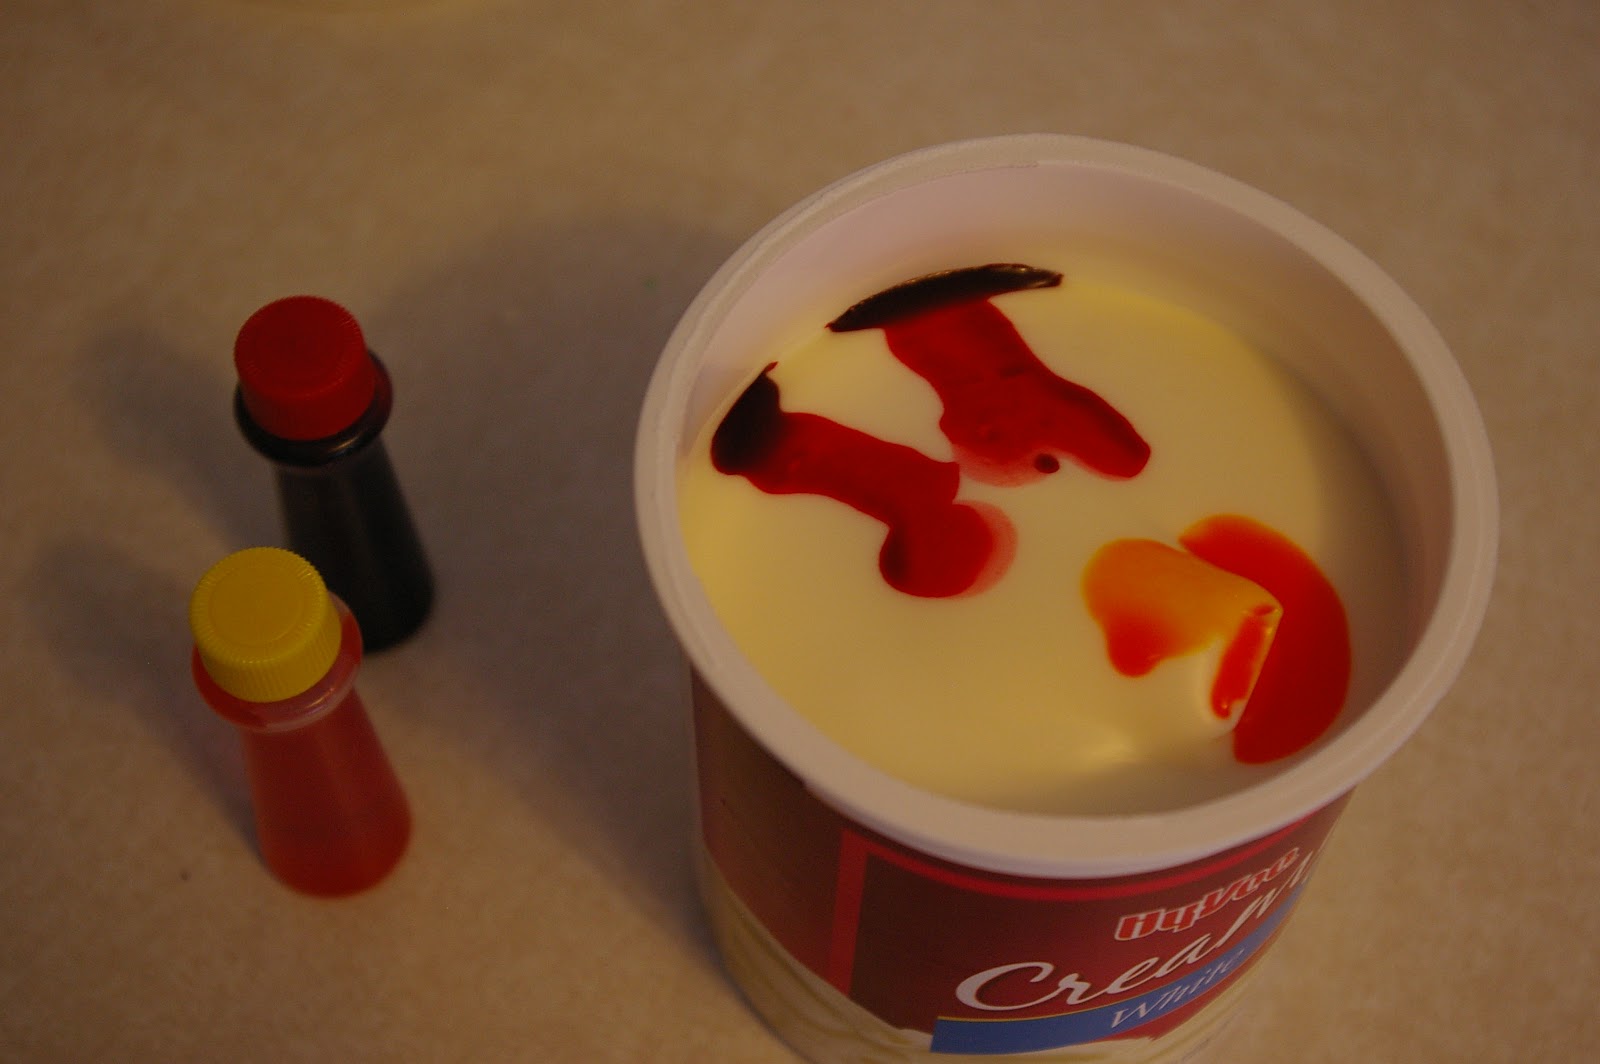
Tint your frosting to get an orange color that you are happy with.  I used a 2:1 ratio of yellow to red dye.  With the regular food coloring, I used 30 drops of yellow and 15 drops of red.

Add your orange frosting to a piping bag with a large circle tip, or to a Ziploc bag like I have, and cut the corner.

Step 7
Again, if you can, work with one Leprechaun at a time, that way your ice cream doesn't get too soft.  Using your orange frosting, make a beard by squirting dots of frosting, or by squeezing zig-zags.

I would have added hair all around, but my ice cream was getting soft pretty fast (1 - I was using frozen yogurt, and 2 - I didn't allow it to completely freeze before this step... Ack!).  You may want to add hair to yours too.

After the beard, I added some bushy eyebrows.  Aren't they cute?!

Step 8
Time for the nose!!!  Cut your cocktail cherries in half.  I placed them cut-side down onto a paper towel to suck up some of the extra juice.

You could attach these with more frosting.  I opted for breaking a toothpick in half, and using the toothpick to secure the nose to the ice cream.  If you are giving these to young children, you likely would want to use frosting or make sure the toothpick is removed before the little ones get them!

Step 9
Add your eyes!  Actually, this would have been easier had I added them before the nose.  The little candy sprinkles aren't the easiest to handle.  You could also use mini chocolate chips, poking the pointy end into the ice cream.  I first tried to make frosting dots for eyes, but wasn't happy with the results (I needed a smaller tip, or they would have been fine).  It is up to you!

Step 10
Last, I added some frosting to the back of this candy shamrock, and attached it to the hat.  And your ice cream Leprechaun is complete!  Leave it in the freezer until ready to enjoy!

I can't wait to share these with my kids tonight.  They will be a special treat, for sure.

Happy St. Patrick's Day!!  Enjoy!

Thursday, March 3, 2011

For the Kids Friday


Welcome to the first For the Kids Friday Link Party!  Since this is my first time trying to pull this off, I'm crossing my fingers that all goes smoothly.  Each week I hope to feature the most popular links.  Since I can't do that this week, I have something else to share with you.


This week I am the creative guest at Ucreate, where I am SO excited to be sharing my Nature Scavenger Hunt tutorial.  You can only find it posted there until April, so make sure you stop by and check it out!


Sun Scholars


And onto the link party!  Just a couple of guidelines I'd like to share.

1)  You must first be a follower of my blog.  (And why wouldn't you want to be?!)

2)  Grab my For the Kids Fridays Button and place it somewhere on your page.  Be sure to link back to me!

3)  Link up as many KID-RELATED activities, games, recipes, crafts, traditions, lessons, and so on... that you would like to share.  Please add a different link each week.  They can be old or new... this is just a place to share ideas for our kids to enjoy.  Bonus points to those that serve some educational purpose too!  Link must be to the specific post, and not your general blog page.

4)  Share the love and comment on at least one other link.  Everyone loves to get feedback.


That's it!  Have fun, and thanks so much for participating!


Wednesday, March 2, 2011

Dr. Seuss Inspirations

Happy Birthday Dr. Seuss!  In honor of you, I have collected some of my favorite Seuss-Style fun for kids of all ages.  What awesome ideas there are out there!


from Seligor's Castle


by Stuff By Ash


by HowDoesShe.com


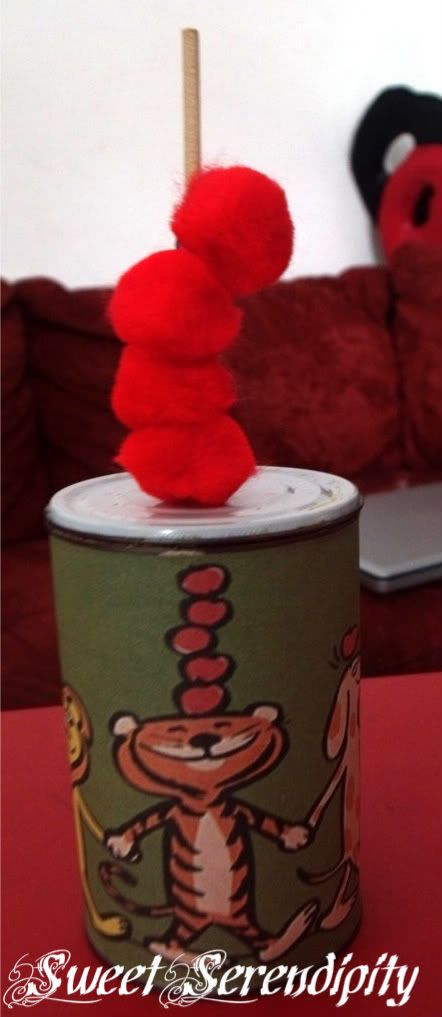
by Sweet Serendipity


by Kitchen Doughdough


by Skip To My Lou


at CraftElf.com


by Alison, posting at Make & Takes
.

by The Girl Who Ate Everything


All of these wonderful "inspirations" get an A++ from Sun Scholars!
You can grab the button below and add it to your blog!
Thanks for sharing your amazing ideas.


Sun Scholars


Have some Dr. Seuss Fun today with your kids!

Tuesday, March 1, 2011

Love in a Lunch Box

No matter what some of you might think, I am not a Super Mom!  Of course, I aspire to be, but like most other moms out there, I try to find easy ways to pull off being that Super Mom when I can find the time.  So this is one of my favorite Super Mom goodies I'd love to share... the Lunchbox Love Notes!


...of course, these in the photos are a little tattered.  My daughter loves them so much, that she saves them.  If I write a personal note on one, she will respond.  My kids get a kick out of finding these in their lunches every day!  I am sure yours will as well.

You can buy premade cards HERE

You can print premade cards from the following:
-  Dora cards from NickJr.com HERE
-  Parents.com HERE.
-  FamilyEducation.com HERE
-  GingerbreadNook.com HERE
-  GetButtonedUp.com HERE
-  AlphaMom.com HERE
-  NannyDeprived.com HERE

But you are an aspiring Super Mom too, right?  Why not make your own?!  Set aside one evening to create a stack of Love Notes to keep in a safe spot... easy to grab and toss in your child's lunch box each day.


Making Your Own Lunch Box Love Notes


So are you just writing love notes to your kids?  Well, that is a great place to start, but why stop there?  Here are my ideas:
1)  Love Notes or Silly Poems
2)  Fun Facts
3)  Jokes
4)  Brain Teasers/Mind Benders
5)  Picture or note cut into pieces - a puzzle for your child to piece back together
6)  Comic strips
7)  Special Coupons (ie. Good for a cookie when you get home from school,  One Extra Story Tonight)
8)  Photos (ie. pictures of when your child was a baby, or a reminder of fun times shared together)
9)  Stories of things about your child when they were younger

My kids LOVE telling jokes.  My daughter loves interesting facts as well as comic strips.  So I created a variety of cards.  Your kids will enjoy finding a new surprise each day.

Supplies Needed:
-  Cards (you buy index cards, or cut your own), about 3 1/2" x 5"
-  Pen
-  Dot Stickers
-  Ideas!  Surf the web for fun facts and brain teasers, grab a joke book, borrow ideas from the links I've shared on this post.

Optional - Comic section of the newspaper

Directions:
OK, so this is pretty simple.  Do you really need instructions?  Just find your ideas, jokes, poems, and start writing!  Though, I came up with a fun way to share the jokes and brain teasers.  See the photos below...


I wrote the question on the front of the card, and put the answer on the back.  However, I used the dot sticker to cover the answer.


So here are some places you might find some fun facts, brain teasers, jokes, etc.

Jokes
http://kids.yahoo.com/jokes
http://www.jokesbykids.com/
http://www.humormatters.com/kidsjoke.htm
http://kidsgoals.com/kids-jokes.shtml

Brain Teasers
http://www.squiglysplayhouse.com/BrainTeasers/index.html
http://www.trickyriddles.com/
http://www.coolmath4kids.com/math_puzzles/index.html

Fun Facts
http://www.fun-interesting-facts.com/
http://www.berro.com/entertainment/general_interesting_facts.htm
http://www.hightechscience.org/funfacts.htm
http://www.faqkids.com/

And don't miss this one!  Use the calculator on the link below to find out how old your child is in months, weeks, days, hours, minutes, and seconds!  How cool is that!
http://www.mathcats.com/explore/age/calculator.html

Or, see this link for what went into the history books on a given day of the year.
http://www.history.com/this-day-in-history


And, if you want some other fun and simple ways you can make lunch time more special for your kids, check out these ideas...


I LOVE these sandwich cutters.  An easy way to make sandwiches more fun, and get rid of the crust.  I've found these at Wal-Mart on a number of occasions.

So there you have it!  I'd love to see your Lunch box Love Notes!